Time to put sides on the boat! First, Chris needs to scarf more plywood together to make longer pieces of 1/2" plywood. (Click
here to see the original post about scarfing.)
Once he has pieces that are long enough, he fits them to the side of the boat and scribes the shape it will need to be one side at a time.
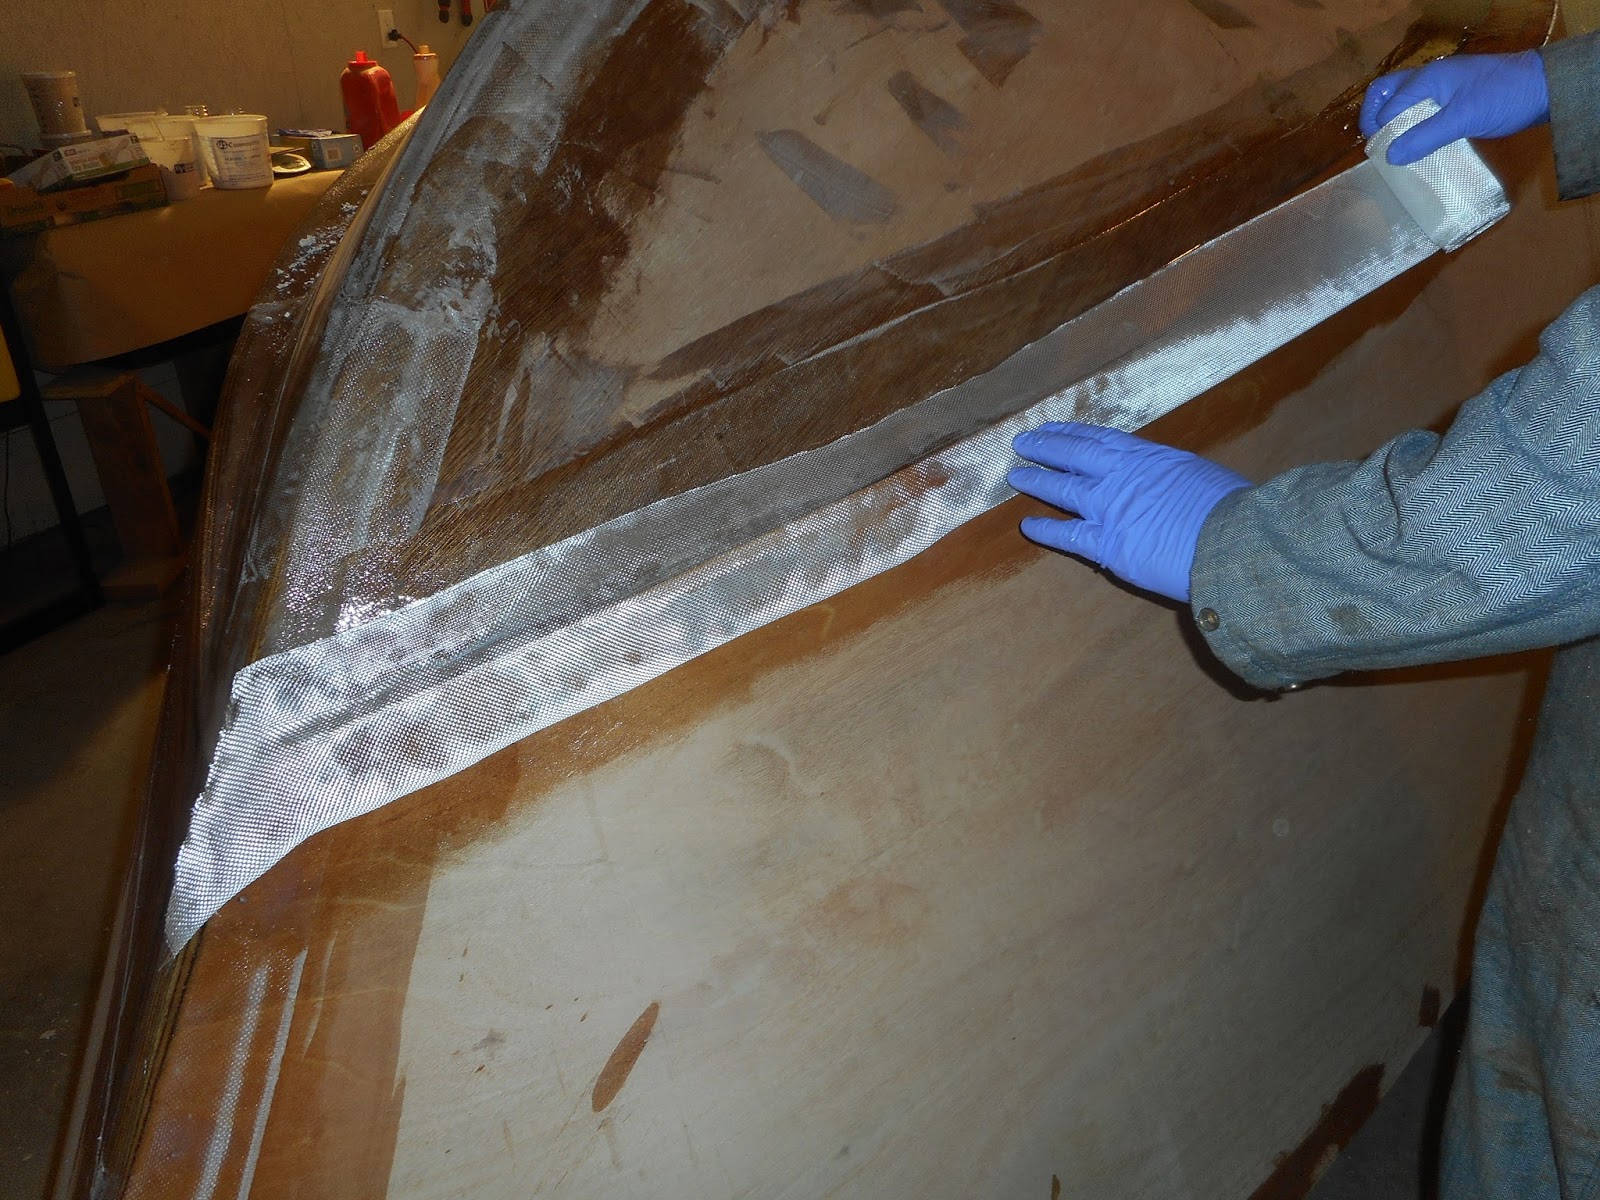
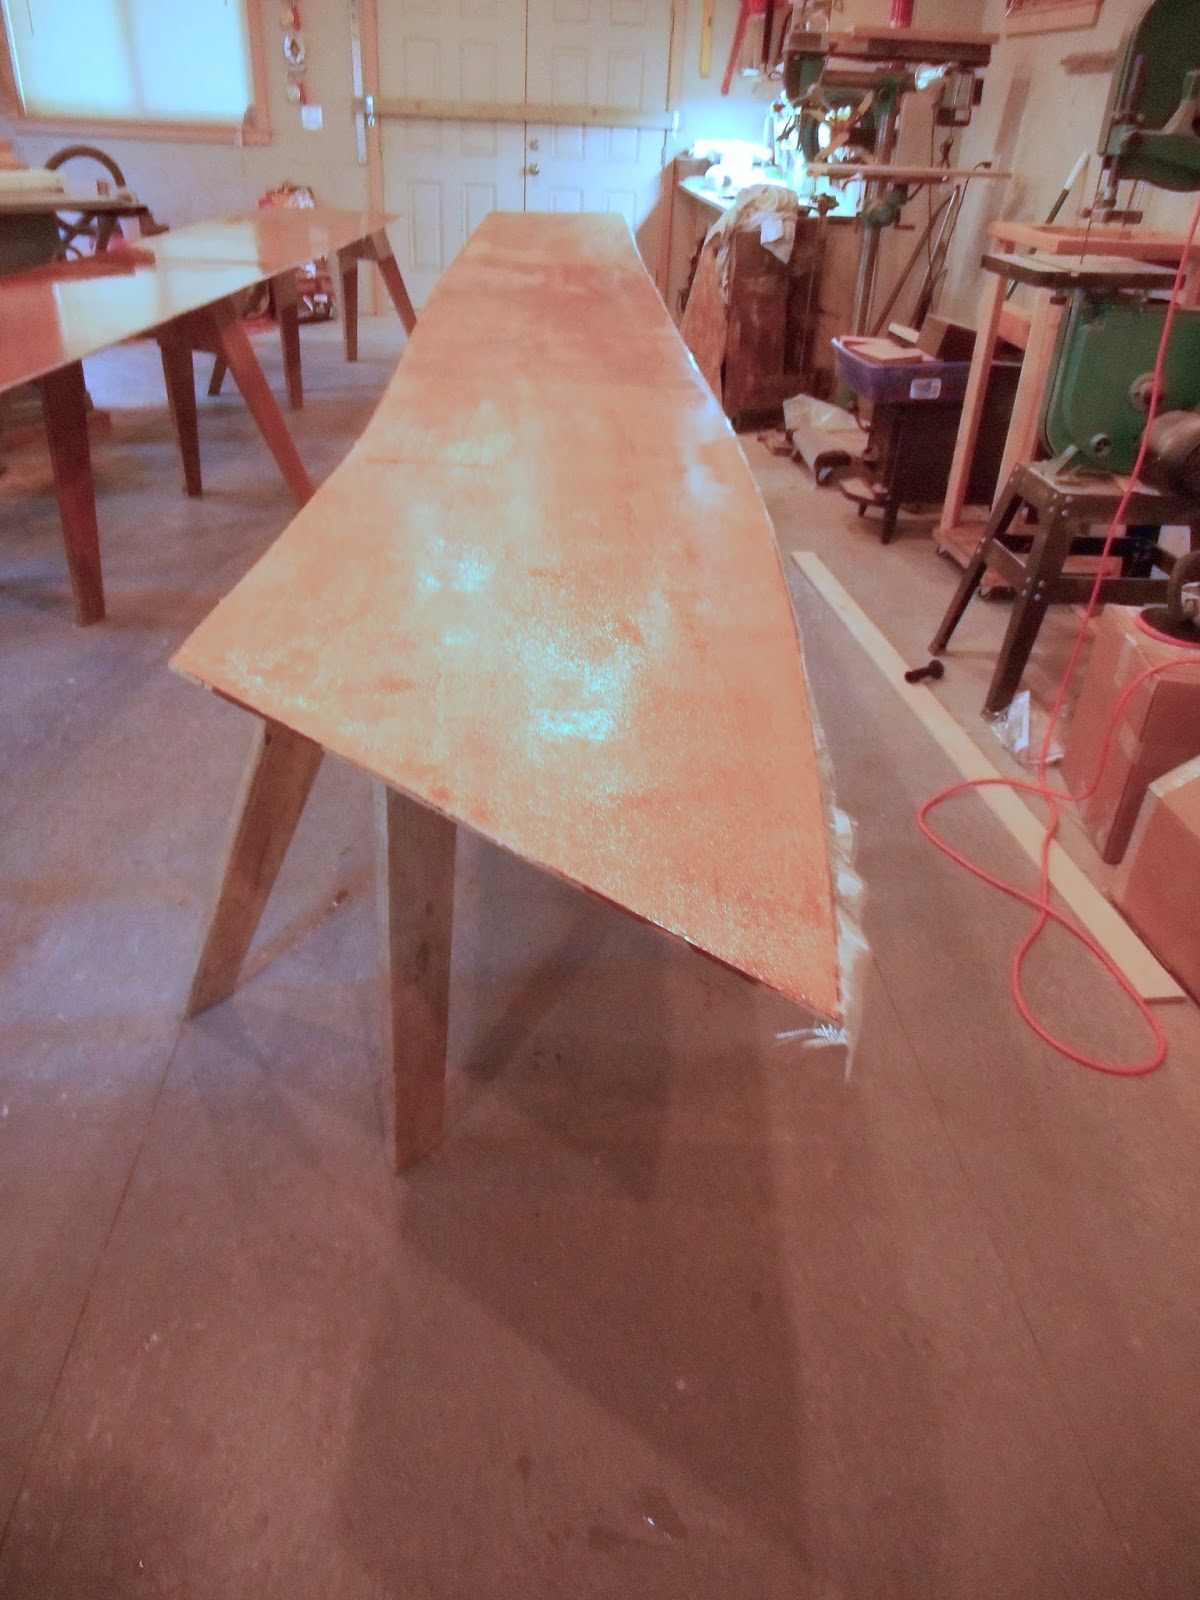
He cuts out the shape, then adds fiberglass and epoxy to the side that will be on the inside of the boat. It is easier to fiberglass while it is flat, rather than once it is attached. He adds a couple of coats of epoxy, sanding between them.
Sanding epoxy is dusty.
Structural ribs are added, ready to attach the sides.
He puts a layer of thickened epoxy between the sides and the boat, but he uses screws to hold it together until the epoxy dries. I got to help hold the boat sides up while Chris screwed it together, so I couldn't take pictures of it actually happening. But here it is afterwards:
It is cool to see it starting to take shape!