Friday, September 2, 2016

Bow Curve Thickness

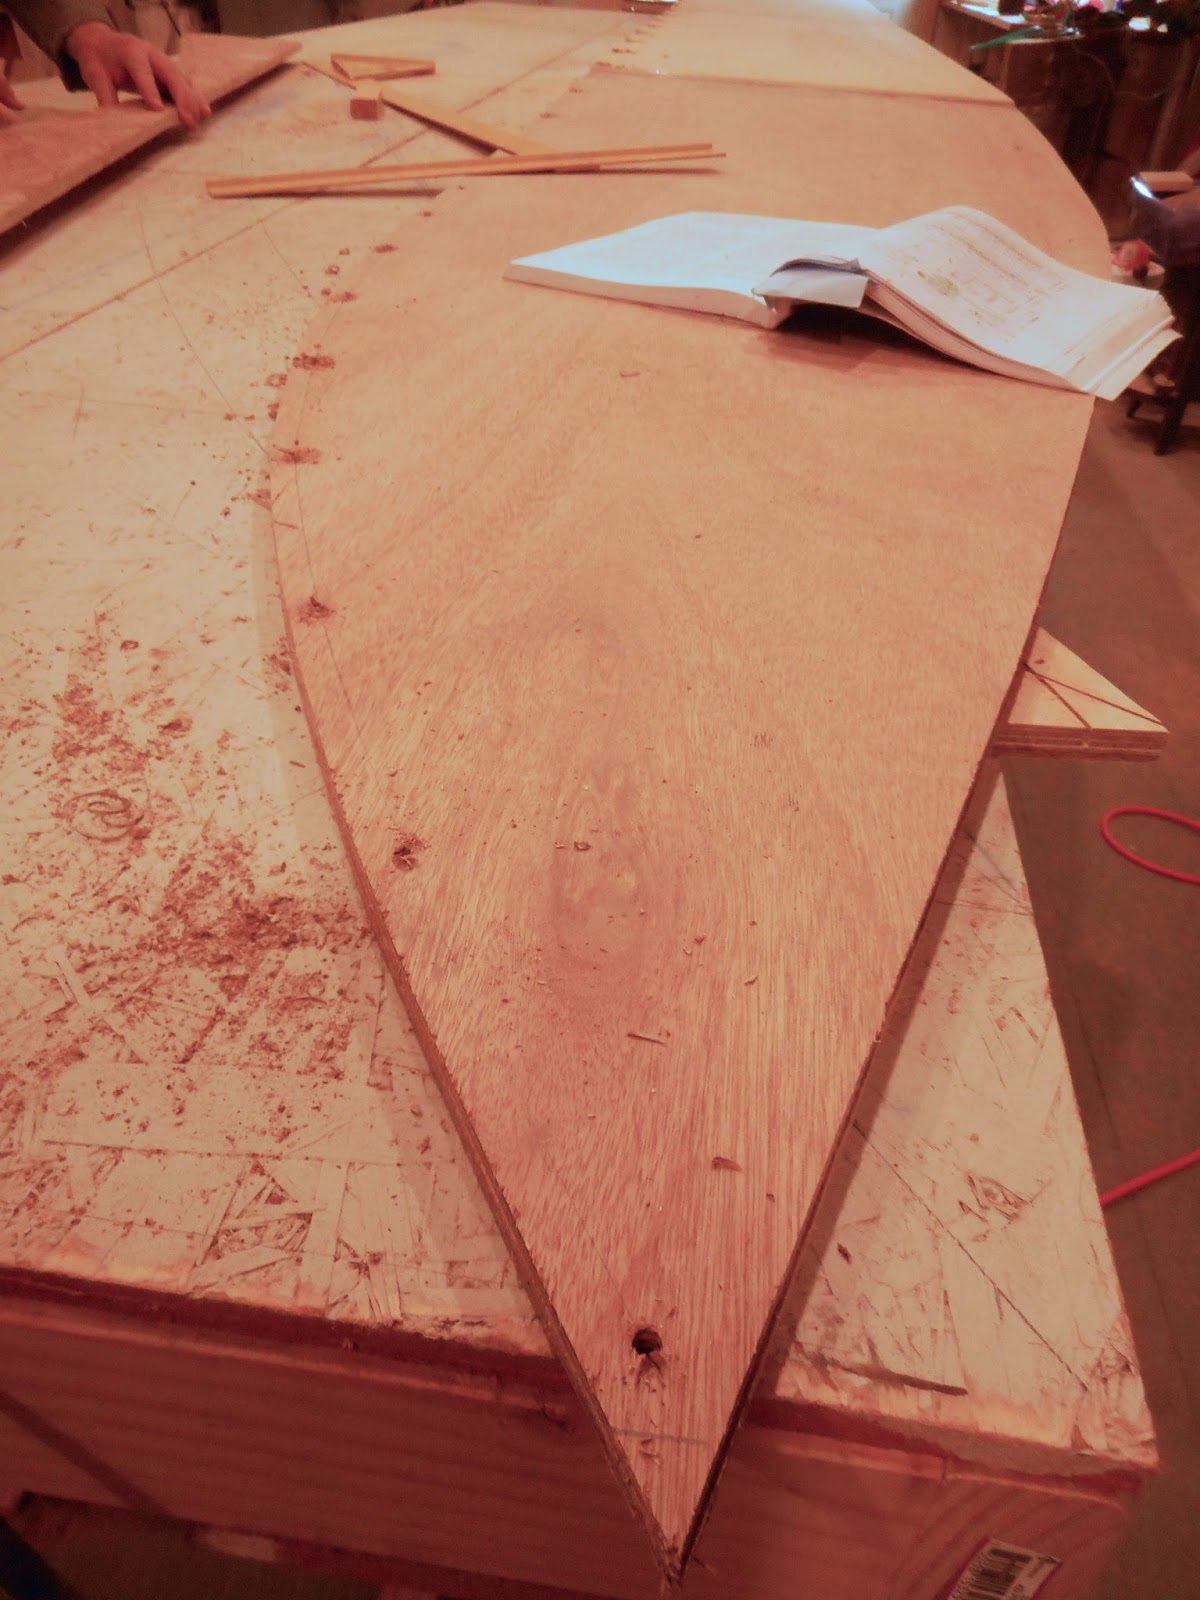
The overall plywood thickness on this boat is 1/2 inch. That, plus the fiberglass and epoxy that will be on there, makes it plenty strong.  The problem is that 1/2 inch plywood doesn't bend well enough to make the front curve.  So the plans call for, way back when Chris scarfed the plywood together, a 1/4 inch sheet of plywood scarfed onto the 1/2 inch plywood.  That thinner part is more bendable and makes up the front bottom curve.  But it still needs to be 1/2 inch to be strong enough, so in this step Chris added another piece of 1/4 inch plywood onto the front part of the boat.

Here it is, flipped over. You can see the stringers underneath it that are about to be attached.

 Here it is from the underside in case you're curious.

Chris fit the 1/4 inch pieces that will be added.


Then he pulled the fitted pieces off and coated them with epoxy.

Very carefully, he added one side at a time to the bow and used screws to hold it tight. He scarfed the end to the 1/2 inch piece on an angle.  The squares are wooden washers.


When the epoxy has cured, he unscrewed the washers. It is hard to see, but there are screw holes all over. 


He filled the holes in with the epoxy. Then, as long as he had it flipped over, he added fiberglass to the bottom ridge and sides and attached the stringers. This is not the time when the plans call for the stringers to be attached, but this worked out well for Chris.


There we go, the whole bottom of the boat is now made up of 1/2 inch plywood. Next up: lots more fiberglass!


Wednesday, August 10, 2016

Chine Shelves

Chris attached the chine shelves to the fairbody.  You can get the general idea from the plans:

Chris used the stitch and glue method. Here are the chine shelves zip-tied to the fairbody:

The boards clamped across helped hold it at the right angle:

 He waited to cut the point at the front of the chine until after its was glued on. Here is what that looks like.

 Then it's time to fiberglass and epoxy the seams.


Monday, June 20, 2016

Fairbody

The Fairbody is the joint at the bottom of the boat.  Chris cuts out 2 pieces according to the plan.


Using plastic zip ties, he joins the two pieces through the drilled holes. 


Then he opens it up and uses the stand he's built to hold it open at the correct angle, forming the curve at the front.


Next he epoxies the seam except for the parts with zip ties and lets it dry. When dry, the epoxy is strong enough that the zip ties can be removed and the holes filled in.


He uses the stringers to hold it down. They are not attached yet, they are just set on there.  Then he fills in the whole seam with epoxy and a strip of fiberglass fabric.


Next up: attaching the chine shelves!


Wednesday, June 1, 2016

Scarfing Plywood

Chris is using marine grade meranti plywood to build his boat.


Like standard plywood, it comes in 4 foot by 8 foot sheets. To get the long planks needed for his boat pieces, Chris joined the plywood together in a process called scarfing.

First, Chris cut the last few inches of plywood sheets down at an angle of about 8%. He used a special jig made for his circular saw to do this. (It may have involved removing the safety guard on the saw. Don't try this at home.)  This is how it looked:


Then he overlapped both ends with epoxy in the middle and screwed it to his shop floor until the epoxy dried.


Remove the screws and voila! you have longer sheets of plywood!  The epoxy is strong enough that the joints are stronger that the wood itself.  A good thing, since that will be what holds the entire boat together.

Chris sanded off the excess to make the whole thing nice and smooth.