Monday, June 20, 2016

Fairbody

The Fairbody is the joint at the bottom of the boat.  Chris cuts out 2 pieces according to the plan.


Using plastic zip ties, he joins the two pieces through the drilled holes. 


Then he opens it up and uses the stand he's built to hold it open at the correct angle, forming the curve at the front.


Next he epoxies the seam except for the parts with zip ties and lets it dry. When dry, the epoxy is strong enough that the zip ties can be removed and the holes filled in.


He uses the stringers to hold it down. They are not attached yet, they are just set on there.  Then he fills in the whole seam with epoxy and a strip of fiberglass fabric.


Next up: attaching the chine shelves!


Wednesday, June 1, 2016

Scarfing Plywood

Chris is using marine grade meranti plywood to build his boat.


Like standard plywood, it comes in 4 foot by 8 foot sheets. To get the long planks needed for his boat pieces, Chris joined the plywood together in a process called scarfing.

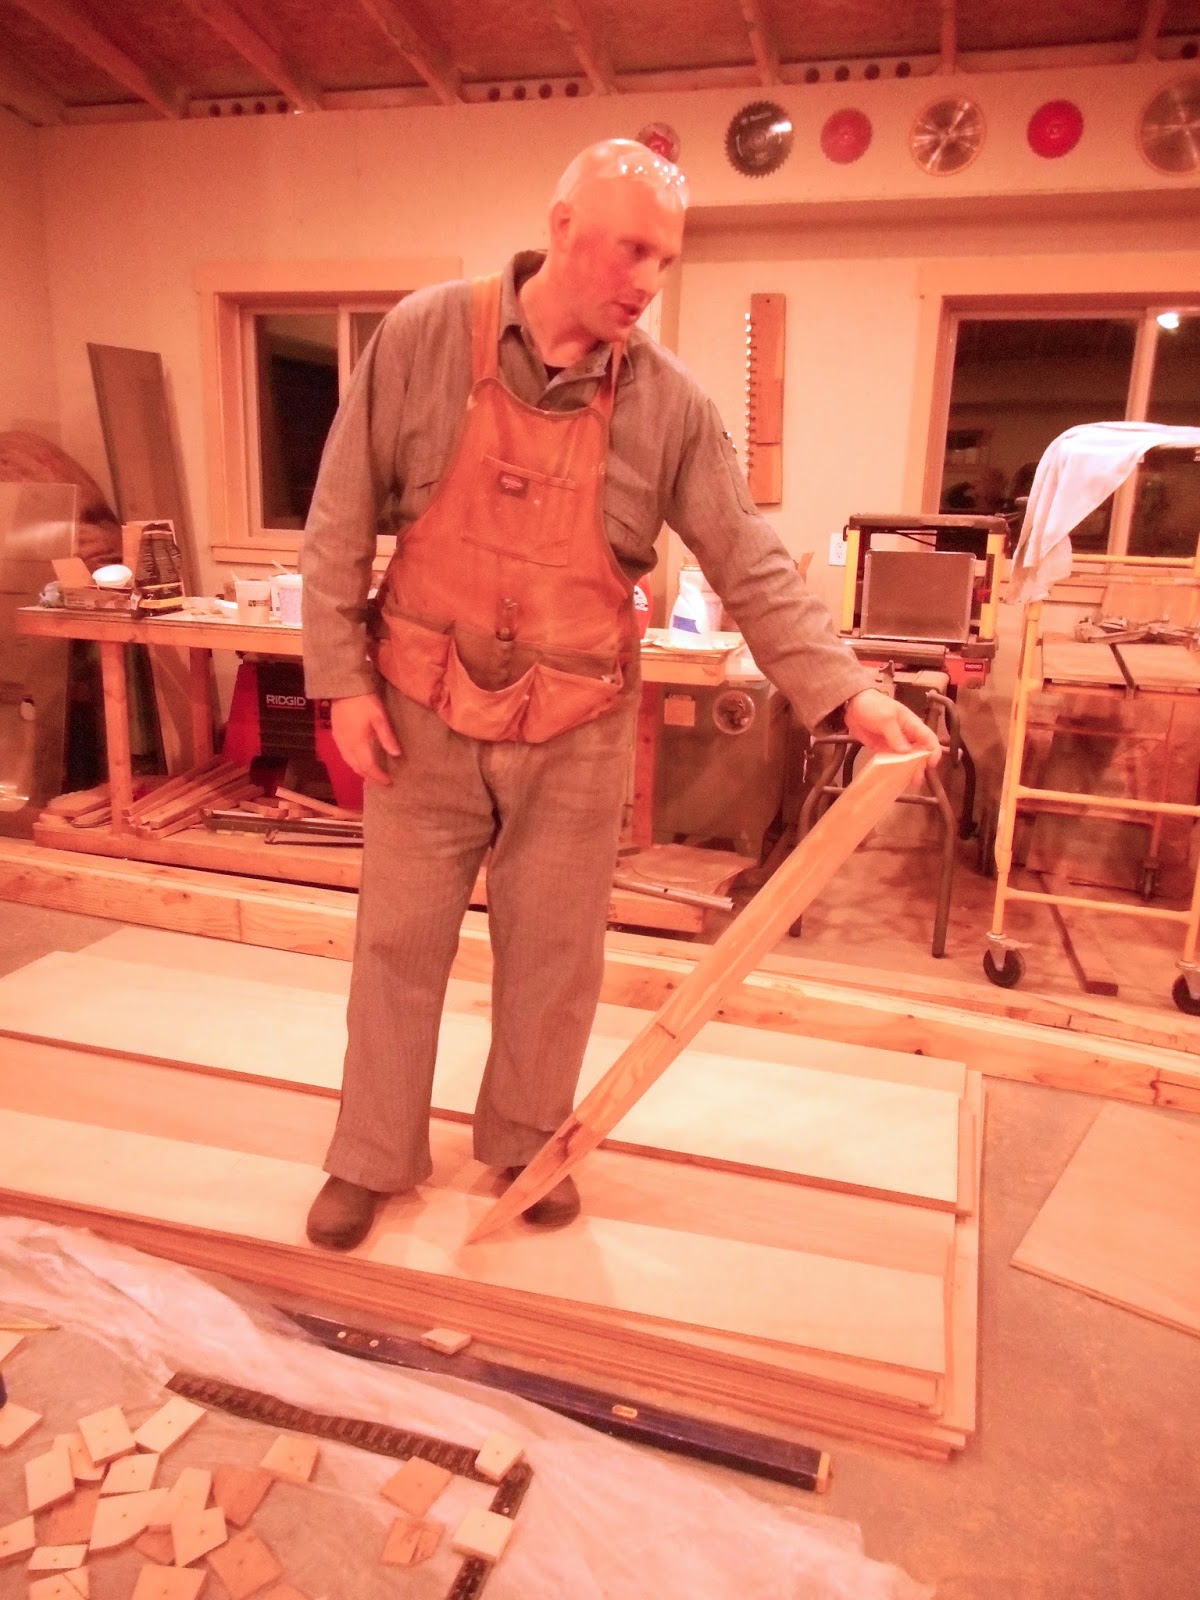
First, Chris cut the last few inches of plywood sheets down at an angle of about 8%. He used a special jig made for his circular saw to do this. (It may have involved removing the safety guard on the saw. Don't try this at home.)  This is how it looked:


Then he overlapped both ends with epoxy in the middle and screwed it to his shop floor until the epoxy dried.


Remove the screws and voila! you have longer sheets of plywood!  The epoxy is strong enough that the joints are stronger that the wood itself.  A good thing, since that will be what holds the entire boat together.

Chris sanded off the excess to make the whole thing nice and smooth.

Saturday, May 21, 2016

Bowstem


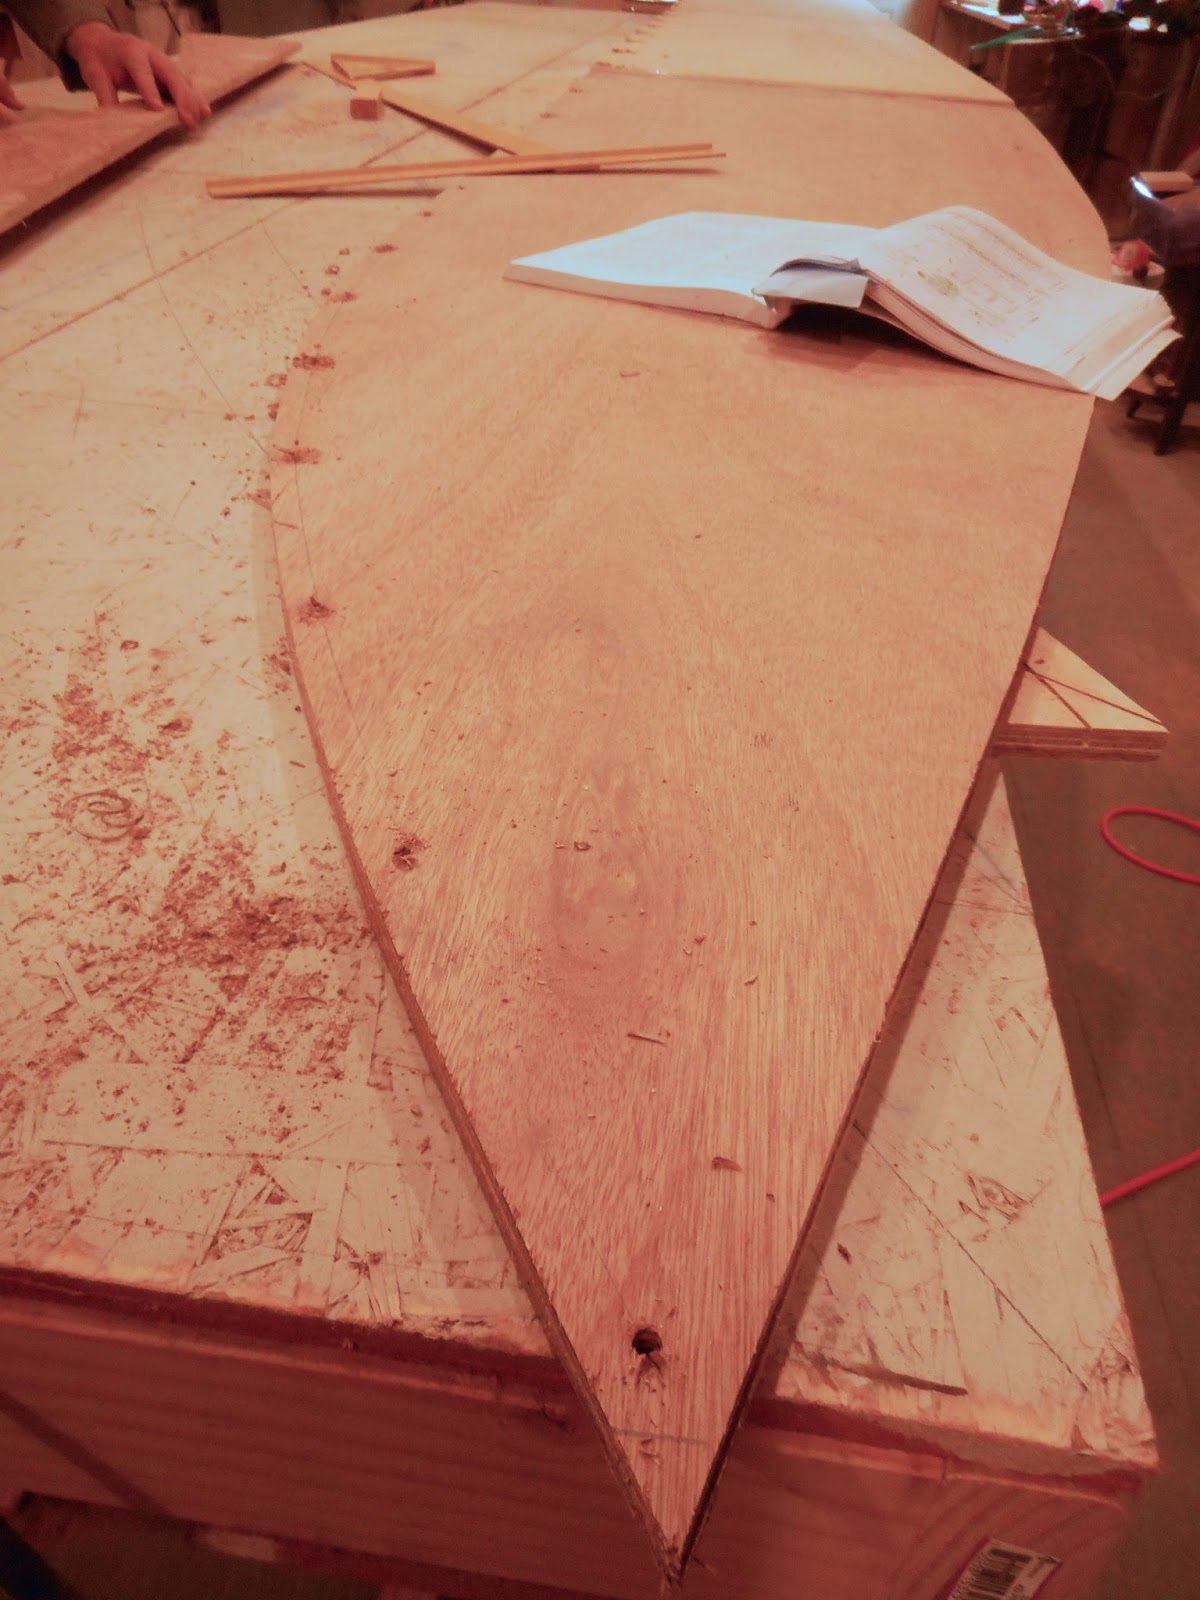
Almost done cutting out the pieces!  Here is the bowstem.  That is the very front part of the boat. It is more complicated than it looks.  The pattern shows all the angles.

Here is the approximate angle it will sit. Pretend there is a boat around it

Looks good.

Add it to the pile with the stringers, shelves, and transom. Soon we can put all these pieces together!


Monday, May 16, 2016

Transom

The transom is the back end of the boat. Here's a picture of the pattern for it:

Cutting it out, putting it together....


Layers put together with epoxy, then screwed to the floor to let the epoxy dry.

Chris cut out a hole at what will be the back bottom of the boat and replaced it with epoxy.  Later, he will cut a plug hole out of that filled part and it will be much smoother and neater than if he cut it out of the plywood and epoxied it afterwards.


The transom:


Sunday, April 24, 2016

Shelves

Shelves are what Renn Tolman, the guy who designed the boat plans, calls gunnels (or gunwales).  Gunnels are the top edges of the sides of the boat.  I'm learning lots of boat terminology here.  Here is what the pattern in the book looks like:


Chris built a stand and drew out the pattern.

He laid nails on edge along the pattern and used them to cut the LVLs along the curve.


Then he made the long part of the shelves and epoxied the two parts together to make one long piece.


Then he made shallow cuts- kerfs- all along the shelves to give them some flexibility and allow them to be shaped (later).


Want to put the shelves next to each other and see the shape of the future boat?  We did.

Next up: Building the transom.


Wednesday, April 20, 2016

Cutting Stringers

Chris's first step was cutting out the stringers. Hey, what's a stringer? A stringer is the beam at the bottom of the boat. It looked like it took fancy math and lots of angle changes.

He cut them out of LVLs- that's Laminated Veneer Lumber.  You can see how the curve will help form the bottom of the boat. The cut side is at an angle.


Sunday, April 17, 2016

New Boat Project!

Chris sold his Tango Skiff and it is time to start a new project!  He has chosen to build a 22' Tolman Skiff.  He is following one of the designs in this book: Tolman Alaskan Skiffs by Renn Tolman.  He got this book a few years ago and has been looking forward to this project.


He got marine grade plywood of varying widths and some LVL beams.

The project has officially started!